Getting that sleek look with two blinds on a single window seems complex. Many worry about uneven gaps or blinds knocking together. What if measuring for it was actually straightforward? Incorrect measurements often lead to frustrating returns, but you can avoid that hassle.
This guide gives you the exact steps for a perfect fit:
● Choosing between inside and outside mounts for dual blinds.
● Accurately measuring total width and height.
● Calculating individual blind widths, including the necessary gap.
● Checking critical factors like window depth.
● Avoiding common measurement mistakes.
Mastering the measurements is the first step to upgrading your space. At BlindsMagic, we focus on smart blinds that offer both style and convenience. Our custom options ensure your precise measurements translate into a perfect fit for effortless smart home control.
TL;DR: Measuring Two Blinds Quick Guide
Short on time? Here are the essential measurement actions at a glance:
|
Step |
||
|
Check Depth |
Verify min 2.5" clear depth across the top frame |
Not applicable |
|
Measure Total Width |
Shortest of 3 (Top/Mid/Bot). Round down 1/8" |
Frame width + desired overlap (e.g., +6" total) |
|
Measure Height |
Longest of 3 (Left/Center/Right). Round up 1/8" |
Top mount point to bottom sill (e.g., frame height + 6") |
|
Determine Gap/Overlap |
Choose gap (e.g., 1/4" to 1/2") |
Decide on center overlap (e.g., 1/4" per blind) |
|
Calculate Blind 1 Width |
(Total Width - Gap) / 2 |
(Total Coverage Width / 2) + Overlap |
|
Calculate Blind 2 Width |
Same as Blind 1 (if equal) |
Same as Blind 1 (if equal) |
|
Key Tool |
Metal Tape Measure |
Metal Tape Measure |
|
Crucial Reminder |
Measure the window opening, not old blinds |
Measure the window opening, not old blinds |
Choosing Between Inside and Outside Mounts for Dual Blinds

Your first big decision is where your two blinds will sit: inside the window frame or outside it. This choice affects the final look and depends heavily on your window's construction. Let's break down each option for a dual blind setup.
Inside Mount: The Built-In Look
An Inside Mount places both blinds neatly within the window frame. This gives you a clean, integrated appearance, almost like the blinds are part of the window itself. It's a popular choice for a sharp, modern aesthetic.
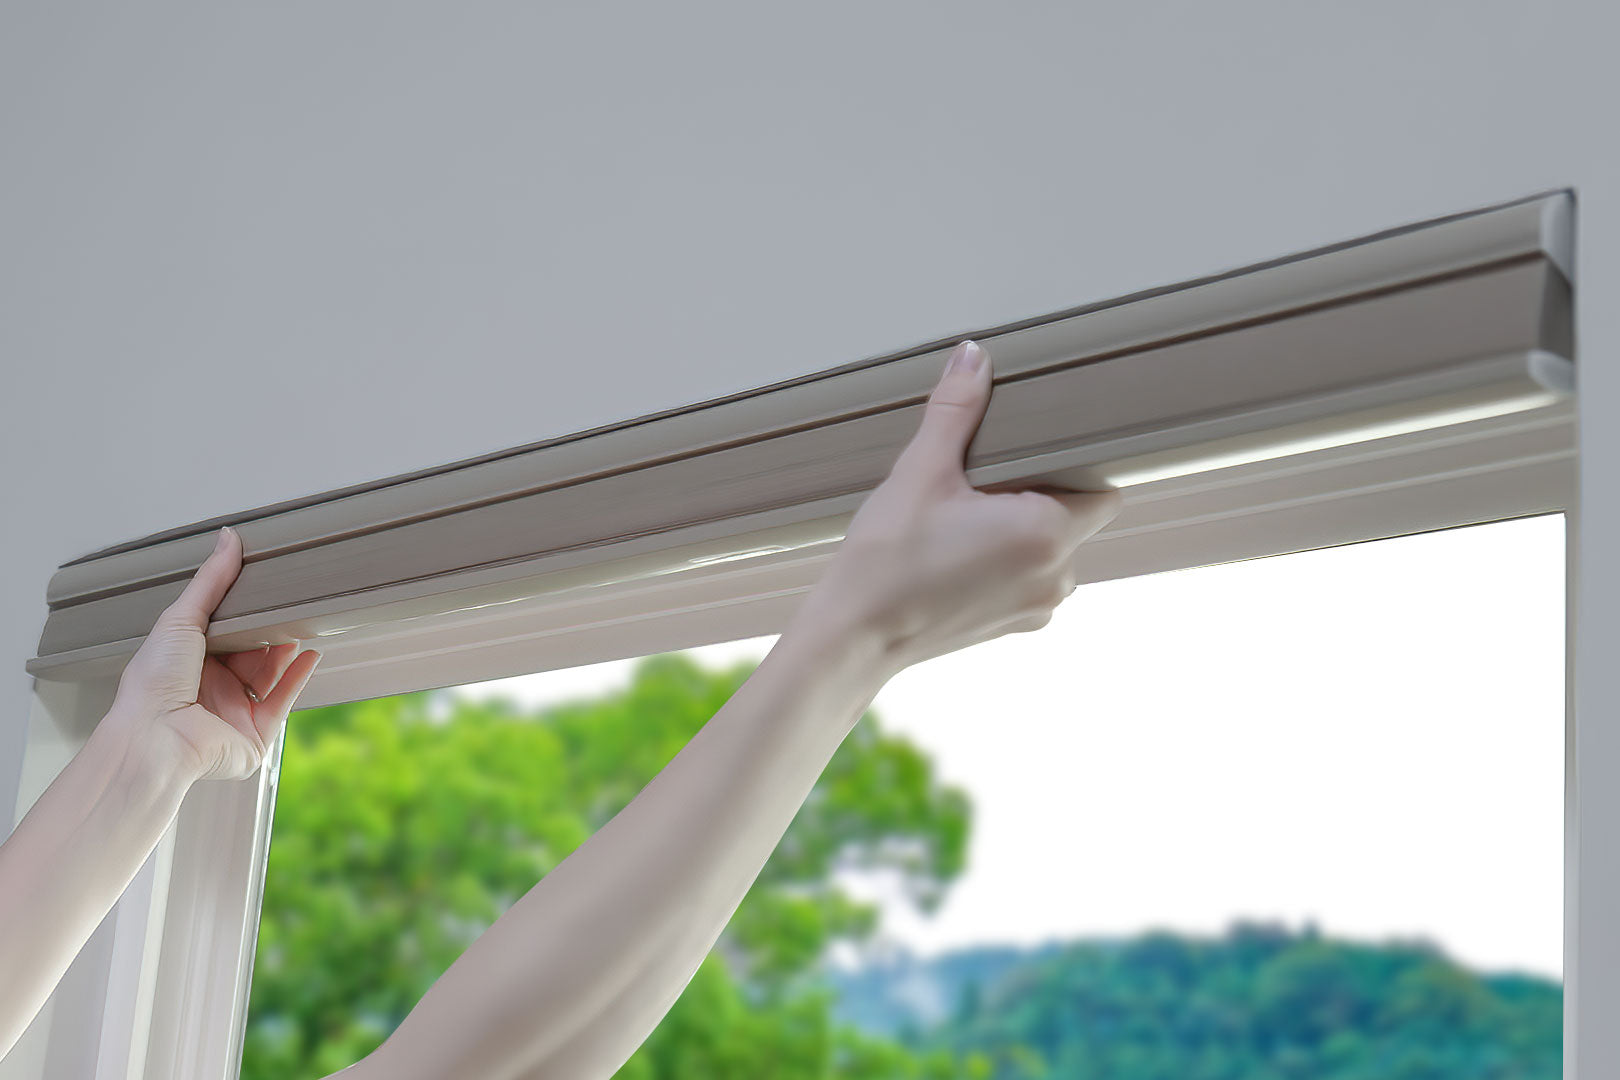
But there's a key requirement: window depth. You need at least 2.5 inches of flat surface depth inside the window frame. Why? This space is needed to accommodate the headrails and mechanisms of both blinds comfortably, side-by-side.
Measure that depth carefully. If it's less than 2.5 inches, the blinds' valance or headrail will likely stick out beyond the frame, defeating the purpose of a flush inside mount.
Outside Mount: Flexible and Forgiving
An Outside Mount fixes the blinds to the wall or trim above and outside the window opening. This is your go-to solution if your window frame lacks the required 2.5-inch depth. It also works well if there are obstructions inside the frame.
Outside mounts can make windows seem larger. They also offer flexibility in hiding imperfect window frames. You’ll mount the headrails above the opening, covering the top frame and extending slightly beyond the sides.
Which Mount is Right for Your Dual Blinds?
Consider these points:
● Look: Do you prefer a flush, built-in style (Inside Mount) or blinds mounted on the wall/trim (Outside Mount)?
● Window Depth: Is your frame at least 2.5 inches deep (Inside Mount) or is it shallower (Outside Mount)?
● Obstructions: Are there cranks or handles inside the frame? (Outside Mount might be easier).
● Light Control: Inside mounts may have small light gaps at the sides. Outside mounts, if measured generously wider, can sometimes offer more edge-to-edge darkness.
Getting the mount type right sets the stage for accurate measurements. Our BlindsMagic smart blinds are custom-made to your specs, so whether you choose inside or outside, providing the correct measurements guarantees a great fit. An outside mount, for instance, easily accommodated a customer's setup on a wide, shallow picture window, giving them the dual control they needed.
Accurately Measuring Total Width and Height
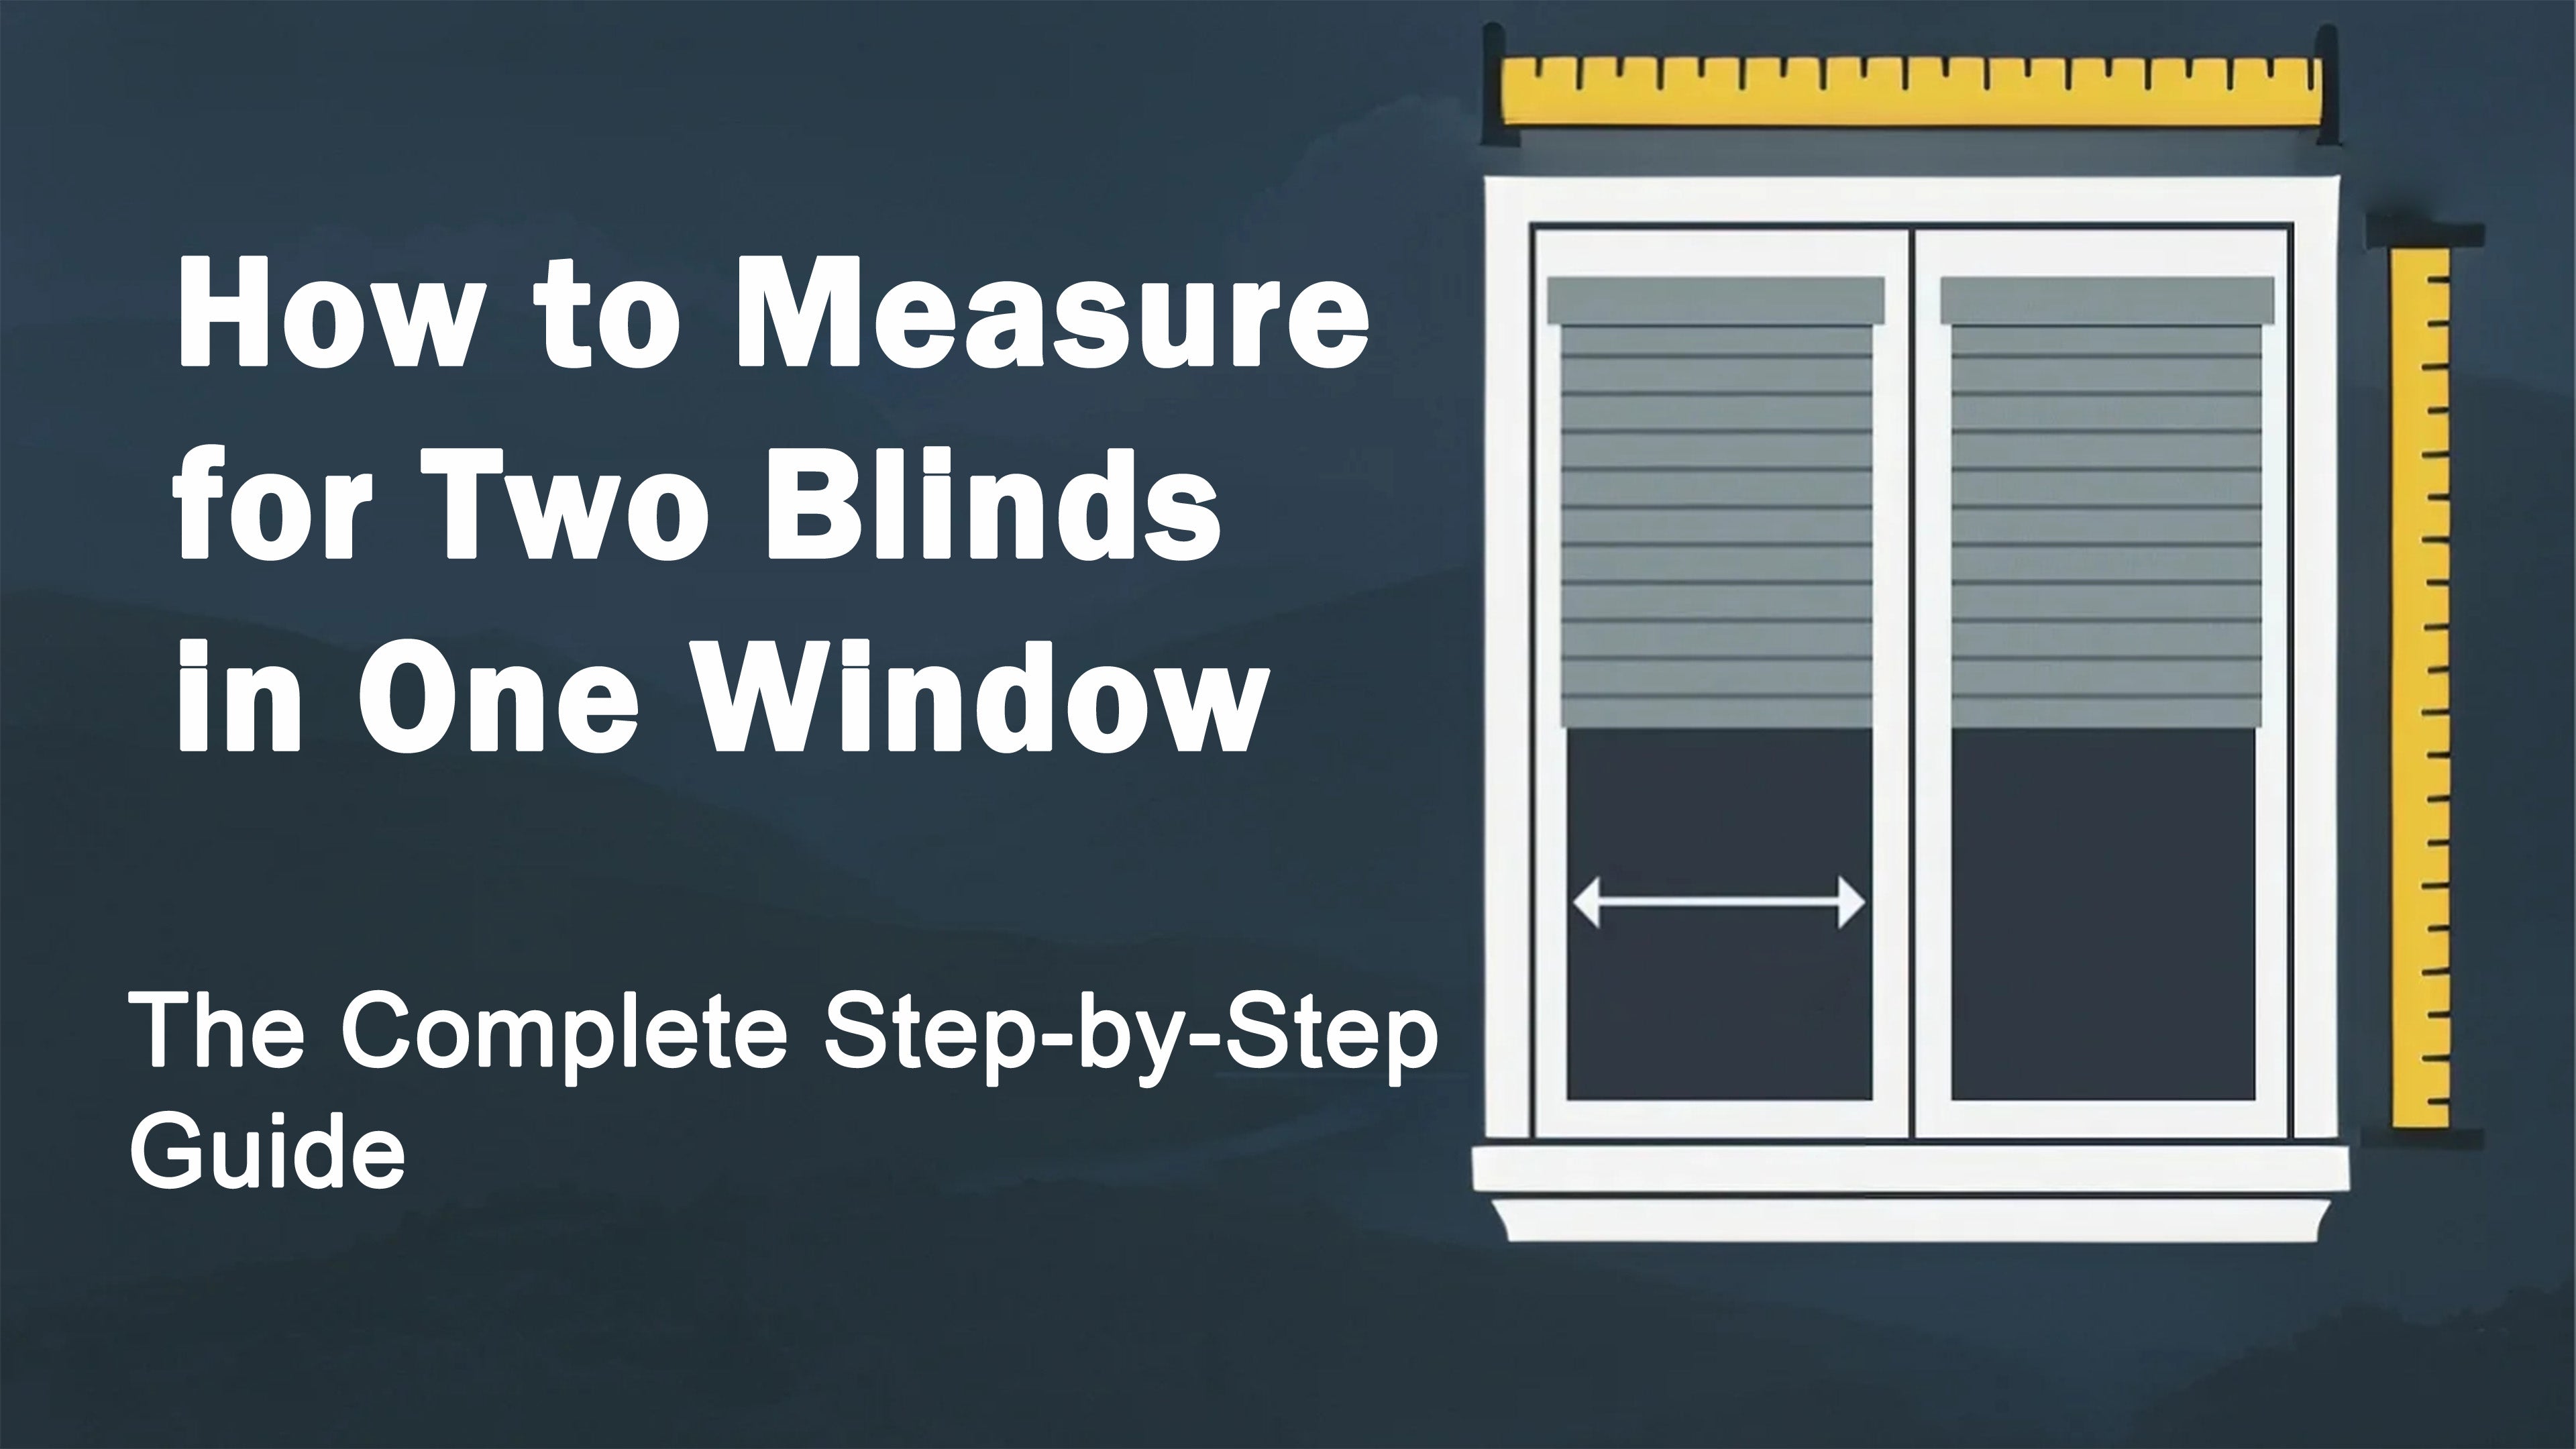
Precision is your best friend here. Grab a metal tape measure for the most reliable readings – cloth tapes can stretch. We're measuring the overall space first, before thinking about the individual blinds.
Measuring the Total Width
How you measure width depends on your chosen mount type:
For Inside Mount: Measure the width inside the window frame at three points:
1. Across the Top
2. Across the Middle
3. Across the Bottom
Windows are rarely perfectly square. Write down all three numbers. You will use the shortest of these three measurements as your total inside width. This prevents the blinds from binding at the narrowest point. Remember to round this shortest measurement down to the nearest 1/8 inch. And double-check that the 2.5-inch minimum depth we talked about applies across this entire width.
For Outside Mount: Decide how wide you want the total coverage to be. Measure the width of the window frame itself, from outer edge to outer edge.
Then, add extra width for overlap. A common practice is adding 6 inches total (3 inches per side) to the frame width. This helps block light gaps and provides solid mounting space, especially important for covering the central area between two blinds. Record this final desired total coverage width.
Measuring the Height
Height measurement also varies by mount type:
For Inside Mount: Measure the height inside the window frame at three points:
1. Down the Left side
2. Down the Center
3. Down the Right side
Again, record all three. For height, you'll use the longest of these three measurements. This makes sure the blinds cover the entire opening, even if it's slightly taller in one spot. Round this longest measurement up to the nearest 1/8 inch.
For Outside Mount: Determine where the top of the headrail will sit above the window frame. Measure from that point down to where you want the bottom of the blinds to rest (typically just below the window sill for best coverage).
Adding about 6 inches to the window frame's height (3 inches above, 3 inches below) is often recommended, but adjust based on your window trim and desired look. Record this final height.
Quick Recap for Inside Mounts:
● Width: Measure Top, Middle, Bottom -> Use Shortest -> Round Down 1/8"
● Height: Measure Left, Center, Right -> Use Longest -> Round Up 1/8"
Always measure the window opening itself, not your old window treatments. Getting these total width and height figures spot-on is vital. When you order custom BlindsMagic smart blinds, these precise numbers allow us to build blinds that fit your unique window flawlessly.
Calculating Individual Blind Widths, Including the Necessary Gap
You have your total measurements. Now, we translate that into the specific widths needed for each of your two blinds. This involves accounting for a small space between them.
Why the Gap Matters
You need a slight gap between the two blinds. Think of it as breathing room. This space allows the blinds to operate smoothly and independently without catching on each other. It also contributes to a clean visual separation.
A typical gap is between 1/4 inch and 1/2 inch. Check if your specific blind manufacturer has a recommendation, but 1/2 inch often works well.
Calculations for Inside Mount
This calculation aims for precision within the frame:
1. Take your shortest total inside width (the number you rounded down earlier).
2. Subtract your chosen gap allowance from this total width.
○ Example: If your shortest total width is 60 inches and you want a 1/2 inch gap: 60" - 1/2" = 59 1/2"
3. Divide this new number by 2 to get the width for each blind (assuming you want them equal size).
○ Example: 59 1/2" / 2 = 29 3/4"
○ You would order two blinds, each with a width of 29 3/4 inches.
If you need unequal widths, simply decide how you want to split the adjusted total (like 59 1/2" in the example) before ordering.
Calculations for Outside Mount
For outside mounts, the goal is seamless coverage over the frame:
1. Start with your total coverage width (frame width + added overlap, e.g., 66 inches).
2. The simplest method is to divide this total coverage width by 2.
○ Example: 66" / 2 = 33"
○ You could order two blinds at 33 inches each. This often results in the blinds meeting neatly near the center.
3. For better light control, consider adding a slight overlap. After dividing the total width by 2 (getting 33" in our example), you could add 1/4" or 1/2" back to each blind's width.
○ Example: 33" + 1/4" = 33 1/4".
○ You would order two blinds at 33 1/4 inches each. This creates a small overlap where they meet, reducing potential light leaks.
Pro Tip: Math mistakes happen. Double-check your subtraction and division before finalizing your numbers. Measure twice, order once!
Checking Critical Factors Like Window Depth

We mentioned it earlier, but confirming your window depth is absolutely key before you commit to an inside mount. Getting this wrong can stop your project in its tracks.
Remember that 2.5-inch minimum flat depth requirement inside the window frame? For two blinds, this isn't just a suggestion; it's necessary space for both headrails to sit comfortably side-by-side without interfering with each other or protruding out.
Here’s what to verify:
1. Measure Depth in Multiple Spots: Check the flat depth at the top of the inside frame where the headrails will actually sit. Measure on the left, in the center, and on the right.
2. Look for Consistency: Is the depth at least 2.5 inches everywhere along that top surface? Sometimes frames aren't uniform. The shallowest point dictates what's possible.
3. Check for Obstructions: Look inside that 2.5-inch space. Are there window cranks, handles, alarm sensors, or even screws or protruding trim pieces? Anything sticking out can prevent the headrail from seating correctly.
If your window frame depth is consistently less than 2.5 inches anywhere the headrails will sit, or if there are obstructions you can't move, an inside mount won't work well. Don't try to force it.
In these cases, an Outside Mount becomes your best option. It bypasses frame depth issues entirely, mounting directly onto the wall or trim above the window.
Pro Tip: Slide your metal tape measure along the top inside surface of the frame where the blinds will hang. Feel for any bumps or shallow spots within that first 2.5 inches – sometimes feeling reveals issues measuring might miss.
Our BlindsMagic headrails are designed for a sleek profile, but they depend on that clear 2.5-inch space for a proper inside mount fit. Ensuring you have it guarantees your new smart blinds will install and operate smoothly side-by-side.
Avoiding Common Measurement Mistakes
A little care during measurement prevents big headaches later. Think "measure twice, order once." Here are the frequent slips to watch out for:
● Using the Wrong Tool: Always use a metal tape measure. Cloth or plastic ones can stretch or bend, giving you inaccurate readings. Stick with metal for reliability.
● Measuring Old Blinds: Don't measure your existing blinds or shades. Measure the window opening itself. Old treatments might not have been the correct size to begin with, or they could have changed shape over time.
● Taking Only One Measurement: Windows often aren't perfectly square. For inside mounts, always measure width at the Top, Middle, and Bottom, and height on the Left, Center, and Right. This catches any variations.
● Mixing Up Inside Mount Rules: Remember the key formula for inside mounts: use the shortest width (rounded down 1/8") and the longest height (rounded up 1/8"). Reversing this leads to blinds that are too tight or too short.
● Ignoring Window Depth (Inside Mount): That 2.5-inch minimum depth isn't flexible for inside mounts. Double-check it's clear and unobstructed across the entire top frame where the headrails will sit. If it's not there, opt for an outside mount.
● Incorrect Gap Calculation: For dual blinds, accuracy counts. Ensure you subtract the gap allowance before dividing the width for inside mounts. For outside mounts, calculate widths carefully to achieve proper center coverage or overlap.
● Scribbled or Rushed Notes: Write your measurements down clearly immediately. It's easy to transpose numbers or forget which measurement was which if you wait. Double-check your figures before placing an order.
Taking a few extra minutes to avoid these common slips is worthwhile. It means that when your custom BlindsMagic smart blinds arrive, they fit precisely as intended, making installation smooth and getting you closer to enjoying that perfect look and smart control.
Perfect Dual Blind Fit Made Easy with BlindsMagic
Measuring for two blinds on one window might seem intricate, but it boils down to a few key steps. Following the right process helps you achieve that clean, functional look you're after.
Remember these main points for success:
● Choose Your Mount: Inside mount needs at least 2.5" of clear, unobstructed depth; outside mount works for any window.
● Measure Precisely: Use a metal tape. For inside mounts, use the shortest width (round down 1/8") and longest height (round up 1/8").
● Calculate Individual Widths: Account for the gap between blinds (inside mount) or plan for center overlap (outside mount) before determining each blind's width.
● Verify Everything: Double-check depth, look for obstructions inside the frame, and review your measurements and calculations carefully.
With accurate measurements in hand, getting the perfect blinds is straightforward. BlindsMagic uses your exact specifications to create custom-sized smart blinds. This ensures your dual blind setup not only looks fantastic but functions seamlessly for easy smart home integration.

